Server Migration Checklist: A Complete Guide

Looking to migrate servers without costly downtime or data loss? This comprehensive server migration checklist covers everything from pre-migration planning and risk assessment to execution strategies and post-migration optimization. Learn proven techniques for minimizing disruption, preserving SEO rankings, and ensuring seamless transitions. Follow expert-tested steps to migrate with confidence and avoid common pitfalls that derail projects.
With this comprehensive server migration checklist, you’ll learn how to:
- Plan your migration with minimal disruption
- Validate and test your new environment
- Optimize for long-term success
Let’s get right into it!
Server Pre-Migration Planning
A successful server migration hinges on strong pre-migration project planning.
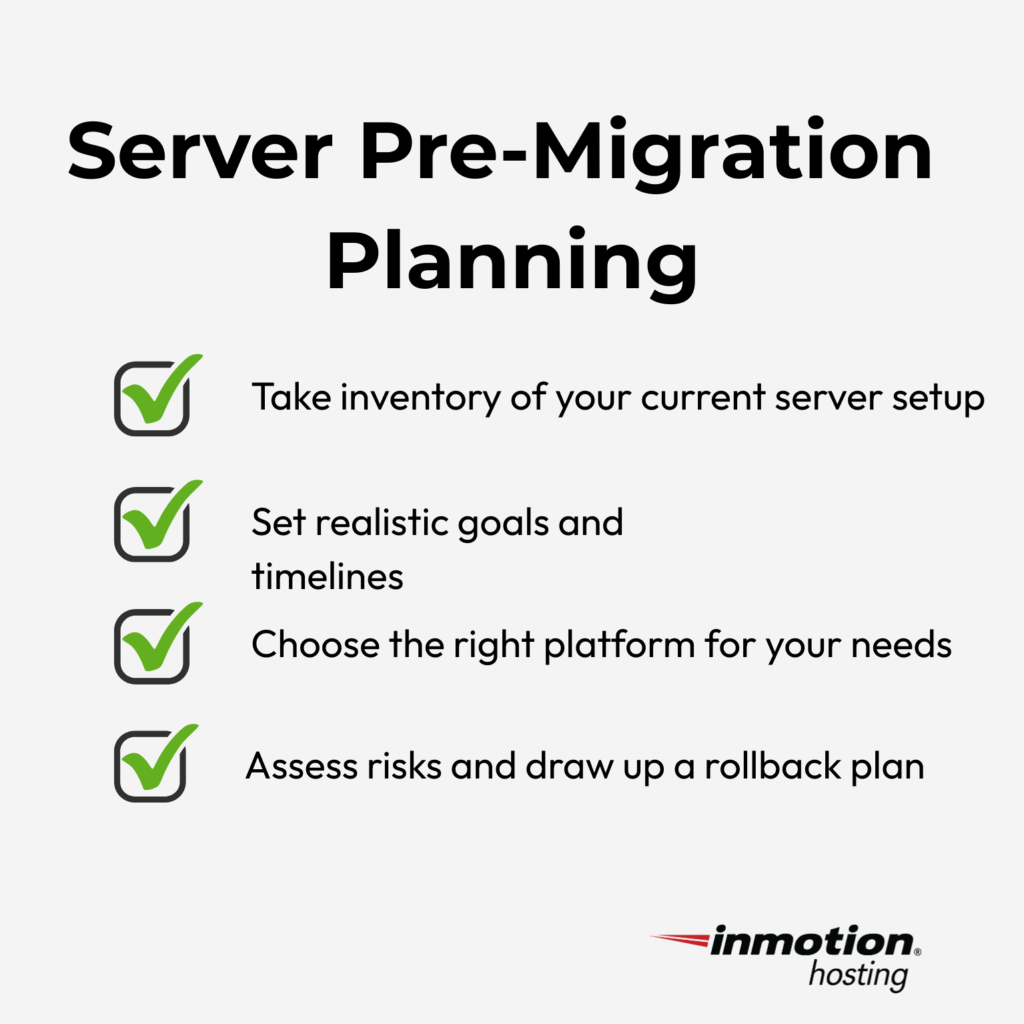
This involves:
1. Assessment and Inventory
Begin by documenting your current setup: hardware specs, operating systems, software licenses, and application versions. Create a detailed inventory of all websites, databases, FTP users, and email accounts associated with the server. Then go deeper.
Identify how everything connects. Does your billing app rely on a specific database? Do multiple services share a config file? Mapping these dependencies reduces the risk of breakage during cutover.
Take performance snapshots now (CPU, RAM usage, disk I/O) so you can compare after the move. Pay close attention to legacy software or 32-bit applications that may not run on modern 64-bit-only systems. These often require special handling or upgrades before migrating.
This assessment sets the foundation for a seamless transfer.
2. Goal Setting and Requirements
Before you touch a single file, define the “why” behind your migration. Are you moving to reduce hosting costs, improve site speed, scale infrastructure, or all the above? Clear goals help you align the entire migration plan with what success looks like.
Next, build a realistic timeline. Server migrations rarely take “just a few hours.” Experienced IT teams report that most projects take 40–80 hours, factoring in prep, testing, and troubleshooting.
Determine your acceptable downtime window. Can you afford a few hours of disruption, or does your business require near-zero downtime? Your answer will influence every decision, from tooling to timing.
Set a clear budget that includes less obvious costs like software upgrades, extra storage, or temporary parallel environments.
Finally, list the must-have features your new server needs and define how you’ll measure success. Success for you could be faster page load times, zero data loss, or meeting compliance standards.
3. Platform Selection
Choosing the right platform is one of the most high-impact decisions you’ll make during migration. It shapes your server’s performance, scalability, and cost structure long after the move.
Not all hosts offer the same level of migration support, performance guarantees, or pricing transparency. For example, migrating from AWS to Azure may seem like a lateral move, but subtle differences in billing, file handling, or support SLAs can become deal-breakers.
Compatibility matters, too. Ensure that your existing applications run smoothly in the new environment. If you’re moving from shared hosting to VPS or a dedicated server, determine what configuration control you’ll gain and what new responsibilities you’ll take on.
Don’t forget to factor in long-term needs like ease of scale and total cost of ownership over 1–2 years. Whether you choose a raw cloud infrastructure or a managed SaaS setup, aim for a platform that supports your business’s future.
4. Risk Assessment and Mitigation
Even well-planned migrations can go sideways. The key is to prepare for the unexpected, not just hope it doesn’t happen.
Start by identifying your weak points. What could break during the move? Databases with tight coupling? Custom applications with hard-coded paths? These are high-risk areas that deserve extra scrutiny.
Build a rollback plan before you start. If things go wrong mid-migration, how quickly can you restore your original environment? Backups aren’t optional, they’re your insurance policy. Run a full backup of files, databases, and config settings, and verify that each backup can be restored.
Set up clear communication protocols with your migration team. Everyone should know who’s handling what, how progress will be tracked, and how to escalate if something breaks. Document every step to avoid confusion during crunch time.
Prepare a contingency plan for extended downtime. Can you run a temporary splash page? Redirect traffic to a backup instance? These decisions are easier made before the pressure hits.
Technical Migration Steps
This is the tech stuff you can’t do away with. You need laser eyes for this next set of steps.
5. Environment Preparation
Start by provisioning the server and configuring its base environment. This includes setting up your chosen operating system, partitioning storage, configuring network interfaces, and establishing firewall rules. Enable and test your access controls before you move any data.
Next, install the required software and runtime dependencies. If your apps rely on specific versions of PHP, MySQL, or Python, ensure those versions are pre-installed and tested. Create a staging area that mirrors your live setup. This gives you a safe zone to test functionality before cutover.
Then, simulate real usage. Run your most critical apps on the staging server to surface compatibility issues early. Do they boot up properly? Can they connect to databases? Are file paths behaving as expected?
A well-prepped environment reduces the chance of post-move surprises and gives you the confidence to move forward.
6. Data Migration Strategy
Your data is the heart of your business, so you should be extra careful how you move it.
Start by deciding how you’ll move databases. For many teams, the simplest approach is to back up and restore. Export your databases from the old server, transfer the files securely, and import them into your new environment. Just don’t forget to validate your backups before migration begins.
If you handle large datasets, you might prefer a detachment and re-attachment method, especially for systems like SQL Server. This allows you to copy over the raw database files, reducing migration time.
For near-zero downtime, replication-based methods (like log shipping or master-slave replication) let you sync data in real time while keeping the old system live until final cutover.
When it comes to files, tools like Robocopy /copyall (Windows) or rsync -a (Linux) preserve timestamps, permissions, and ownership metadata. If your dataset spans hundreds of GBs, schedule transfers in stages to manage bandwidth and avoid bottlenecks.
Before cutover, verify data integrity. Run checksums or hashes on transferred files and compare them to the source. What you migrate must match exactly, or you risk silent data corruption.
7. DNS and Domain Configuration
DNS changes can be the silent deal-breaker in any migration. Handle them wrong, and even a flawless server move will feel like a failure to your users.
Begin by lowering your Time to Live (TTL) values at least 24–48 hours before the planned migration. A shorter TTL ensures that DNS changes propagate faster when you switch to the new server, reducing the risk of visitors being routed to the old one.
Prepare all DNS changes in advance—A records, CNAMEs, and particularly MX records if you’re handling email. Document your current DNS zone file and confirm that the new server is configured to accept traffic from all relevant domains.
Be mindful of domain propagation delays, especially if you’re updating nameservers or managing multiple subdomains. Propagation can take anywhere from a few minutes to several hours, depending on global DNS caching.
Once DNS is switched, test thoroughly. Use tools like dig, nslookup, or online DNS checkers to ensure your domain resolves correctly and that no old IPs are lingering.
8. Application Migration
Application migrations are more complex than website migrations. For a successful one, start by choosing your migration method:
- Lift-and-shift means moving the app with minimal changes, ideal for simple or self-contained systems.
- Refactoring involves updating the app to match the new environment, often necessary when upgrading tech stacks or moving to a different OS.
Transfer configuration files, environment variables, and any custom scripts. These often contain hard-coded paths or server-specific values. You should update them to reflect your new setup. Don’t forget to revise database connection strings, file locations, and third-party service keys.
Set up a pilot or proof-of-concept environment to test functionality before fully cutting over. Launch the app, run key workflows, and confirm dependencies like storage, APIs, and databases are working without error.
Server Migration Execution
Now you’ve got the groundwork laid out, it’s time to execute a smooth server migration. Take the instructions below into account.
9. Downtime Minimization Techniques
To reduce the impact of downtime, schedule your migration for off-peak hours. Use pre-syncing tools like rsync on Linux or Robocopy /MIR on Windows to transfer most data before the final cutover. This allows you to sync only the most recent changes when it matters most. A staged migration approach (bulk transfer early, quick sync later) helps shrink the actual downtime window significantly.
To speed up DNS propagation, lower TTL values to 24 to 48 hours in advance. If your setup allows, run old and new environments in parallel to give yourself a fallback in case of issues. Just as important, clearly communicate the migration window to internal teams or clients, so they know what to expect.
10. Server Migration Checklist
When it’s execution time, every second counts. Use this server migration checklist to ensure nothing slips through the cracks:

When you treat execution as a process, not a scramble, you set yourself up for a smooth cutover and a more confident post-migration review.
Server Post-Migration Tasks
11. Verification and Testing
After your migration completes, the priority is to confirm that everything works as expected. This isn’t the time to assume; verify every user interaction point.
Next, compare your current performance metrics against the baseline you captured pre-migration. Check for improvements in page load speed, server response time, and resource usage. These metrics provide early signals that your new environment is configured correctly or that something still needs tuning.
Validate your data integrity by checking that all files, databases, and configurations have been transferred completely. Run consistency checks on databases and ensure no corruption occurred during transfer. If you use automated jobs or cron tasks, re-enable them and monitor their first few runs to confirm stability.
Security testing is equally essential. Confirm that user access permissions are intact, SSL certificates are properly installed, and HTTPS is enforced site-wide. Scan system logs for any anomalies or errors that may indicate subtle issues.
Lastly, invite internal stakeholders or QA team members to test the environment. A fresh perspective can often uncover edge cases or missed configurations.
12. SEO and Web Traffic Preservation
A server migration can sabotage your SEO if you’re not careful. After moving, the first step is to confirm that all key pages are still live and accessible. Use tools like Google Search Console or Screaming Frog to detect any crawl errors or broken links.
If any URLs have changed, implement 301 redirects immediately. This preserves your link equity and prevents search engines from treating old URLs as lost content.
Next, re-verify your domain in Google Search Console and monitor crawl stats over the next few days. Keep a close eye on traffic and rankings. Fluctuations are normal, but major drops may signal a missed redirect or DNS issue.
Avoid changing page structure, title tags, or internal links during the migration. Keeping your content and site layout consistent helps search engines re-crawl and re-index the new environment with minimal disruption.
Ideally, time your migration during a period of low site traffic. With the right prep, you can switch servers without losing SEO ground.
13. Performance Optimization
If you’ve moved to a new OS or database engine, optimize accordingly. Rebuild indexes, update statistics, and monitor for query bottlenecks. Latent issues, like locking in database transactions, may surface only under real-world load.
Caching plays a big role in performance. Reconfigure object, page, or opcode caching to suit your new server’s architecture. Default settings from the old environment may no longer be ideal.
Load test your site under realistic traffic conditions. This helps identify stress points early and ensures the server can handle peak traffic without degradation.
Finally, listen to user feedback. Reports of slow page loads, login delays, or timeout errors can highlight issues you missed during testing.
14. Documentation and Knowledge Transfer
After a successful migration, solid documentation ensures continuity, especially if future issues arise or team members change.
Start by updating all technical documentation to reflect the new environment. This includes server credentials, IP addresses, software versions, firewall settings, and any custom configurations. Document new dependencies, DNS changes, and any differences from your old setup.
Next, train your internal team. Even experienced admins need time to adjust to new workflows, platforms, or management tools. If you’ve adopted new technologies, like containerization or a cloud-based dashboard, provide clear guidance to close any skills gaps.
Create user-facing guides if the interface or login process has changed. Even minor adjustments can confuse non-technical staff or clients, so keep instructions simple and specific.
Consider a short debrief with your migration team to document lessons learned. Think about what went smoothly and what caused delays. Capture these insights now so the next migration or recovery plan is even faster.
Finally, prepare support materials for common post-migration issues, like DNS propagation delays, SSL errors, or email configuration problems. Handing over a clear knowledge base helps reduce friction after the cutover and reinforces your long-term stability.
Common Migration Challenges and Solutions
Use this table as a troubleshooting starter when you encounter issues migrating your server:
Wrap Up
If you’ve followed this server migration checklist, you’ve accounted for everything from pre-migration inventory and DNS timing to post-cutover SEO checks and performance tuning. You’ve minimized downtime, preserved search rankings, and created documentation that future-proofs your setup..
If you want a second set of eyes before flipping the switch, don’t do it alone. Start your migration with confidence – contact our migration experts today.
Seamless Website Migrations Done Right – For Free
Moving your website shouldn’t be stressful. InMotion Hosting is the #1 choice for website migrations, offering free expert migrations for cPanel, WordPress, and even complex server-to-server transfers. Let our team handle the heavy lifting so you can stay focused on your business.
Start Your Free Migration Today
