How to Add a Gallery in WordPress with a Lightbox Effect

Do you want to add a gallery in WordPress with a lightbox effect?
Adding the lightbox effect will allow users to view your images in a distraction-free environment without leaving your website. However, the default WordPress gallery block does not support lightboxes.
In this article, we will show you how to easily add a gallery in WordPress with a lightbox effect, step by step.
Why Add the Lightbox Effect in WordPress Galleries?
By adding the lightbox effect to the galleries on your WordPress website, you can show off your images in a more professional way.
This effect allows you to display your images in a pop-up window on your website when a user clicks on them.
Lightboxes help create a more immersive viewing experience for your visitors and even make it easier for them to share your images on social media or download them on their computers.
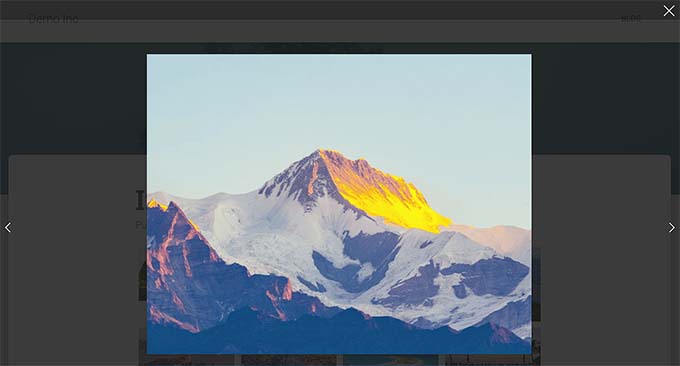
If you have a photography website, then adding a lightbox effect will enable users to view your high-resolution images in a distraction-free mode, increasing engagement.
Similarly, if you have a WooCommerce store, then adding a lightbox effect to your product galleries can also help customers view the product up close and make an informed decision.
Having said that, let’s see how to easily add a WordPress gallery with a lightbox effect, step by step.
How to Add a WordPress Gallery With a Lightbox Effect
You can easily add a WordPress gallery with a lightbox effect using Envira Gallery.
It is the best WordPress gallery plugin that allows you to create fully responsive and modern image galleries for your website.
Envira Gallery is also super fast and has a drag-and-drop builder, professional gallery templates, and many features, including adding tags, audio, social sharing, and the lightbox effect.
First, you need to install and activate the Envira Gallery plugin. For detailed instructions, see our step-by-step guide on how to install a WordPress plugin.
Note: Envira Gallery also has a free plan that you can use for this tutorial. However, upgrading to the paid plan will give you access to more features.
Upon activation, visit the Envira Gallery » Settings page from the WordPress admin sidebar to enter the license key.
You can get this information from your account on the Envira Gallery website.
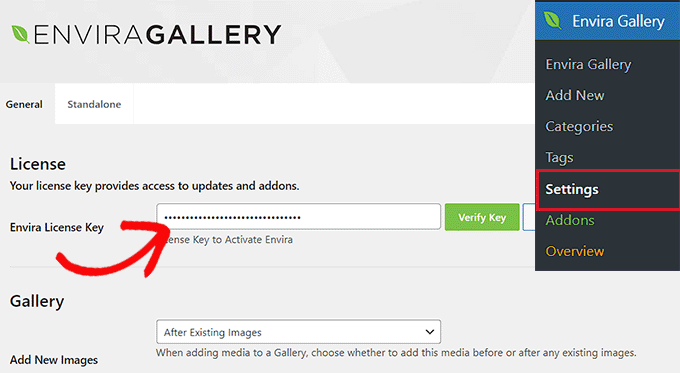
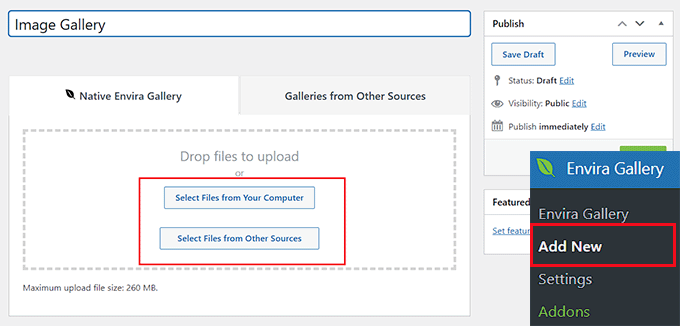
After that, you need to visit the Envira Gallery » Add New page from the WordPress dashboard to start creating your own gallery.
From here, type a title for the image gallery and click the ‘Select Files from Your Computer’ button to upload images.
Or, if you want to add media library images to your gallery, then click the ‘Select Files from Other Sources’ button. This will launch the media library from where you can upload gallery images.
Remember that you can only upload one image from the media library at a time.
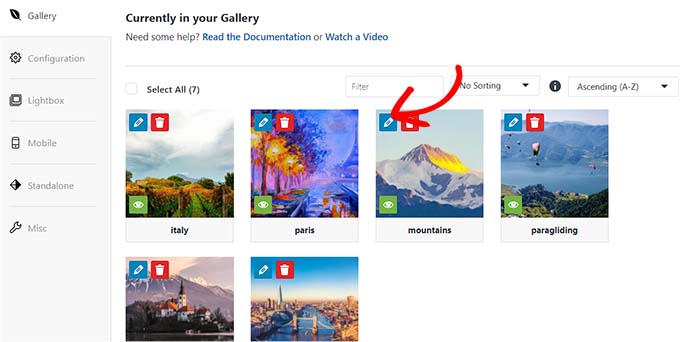
Once you have done that, scroll down to the ‘Currently in your Gallery’ section, where you will see a preview of your gallery on the right with settings in the left column.
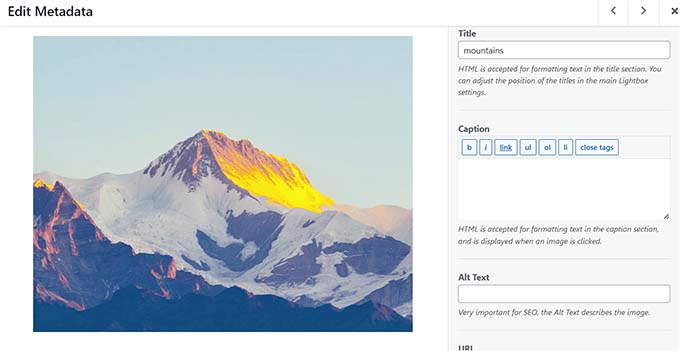
Now, click the pencil icon on top of each image to open the ‘Edit Metadata’ prompt on the screen.
From here, you can add the caption, status, title, and alt text for individual images.
After that, don’t forget to click the ‘Save Metadata’ button to store your settings.
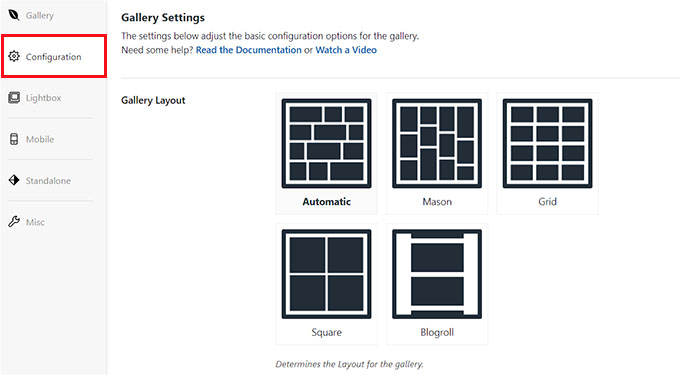
Next, switch to the ‘Configuration’ tab from the left column to change the layout of your gallery according to your liking.
From here, you can select a layout, number of columns, image size, dimensions, themes, and more.
For detailed instructions, please see our beginner’s guide on how to create an image gallery in WordPress.
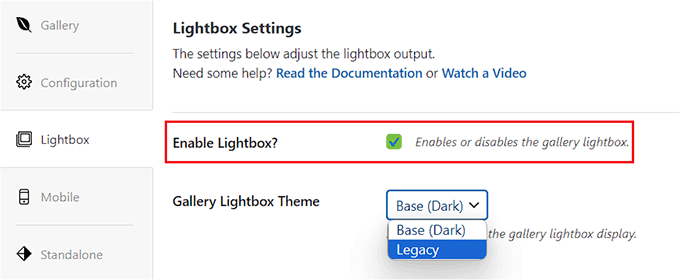
Once you have configured the gallery layout, switch to the ‘Lightbox’ tab from the left column and check the ‘Enable Lightbox?’ option.
After that, select a lightbox theme from the ‘Gallery Lightbox Theme’ dropdown menu. If you choose the ‘Legacy’ option, then the lightbox effect prompt will have an older layout.
On choosing the ‘Base (Dark)’ option, the lightbox prompt will have a dark base as its layout.
Next, you must select if you want to display the image title or its caption in the lightbox prompt. You can also display both or none of them if you like.
Once you have done that, choose the image size for the lightbox from the dropdown menu.

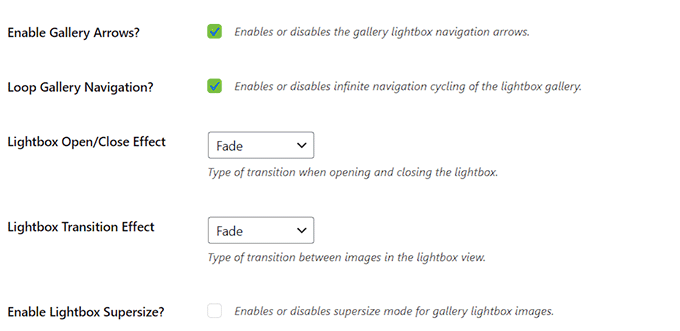
After that, check the ‘Enable Gallery Arrows’ option. The lightbox prompt will now show two arrows that the viewers can use to switch to different images in your gallery.
You can also configure other settings for your lightbox, including its transition effect, open/close effect, enable lightbox supersize, and more.
Once you are done, don’t forget to click the ‘Publish’ button at the top to store your changes.
To add your image gallery to a WordPress page/post, open the page in the block editor.
Here, you need to click the add block ‘+’ button in the top left corner of the screen to open the block menu. Next, add the Envira Gallery block to the page/post.
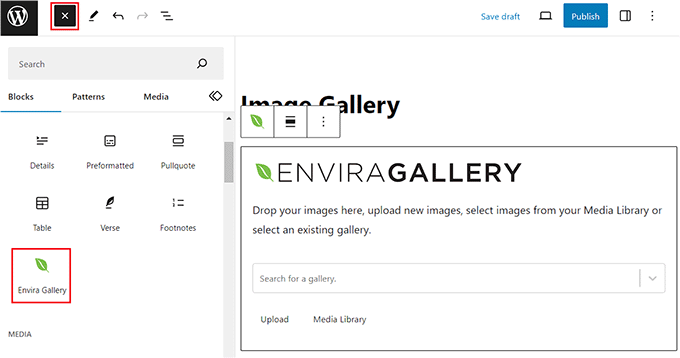
After that, select the image gallery that you just created from the dropdown menu in the block itself. Finally, click the ‘Update’ or ‘Publish’ button to store your settings.
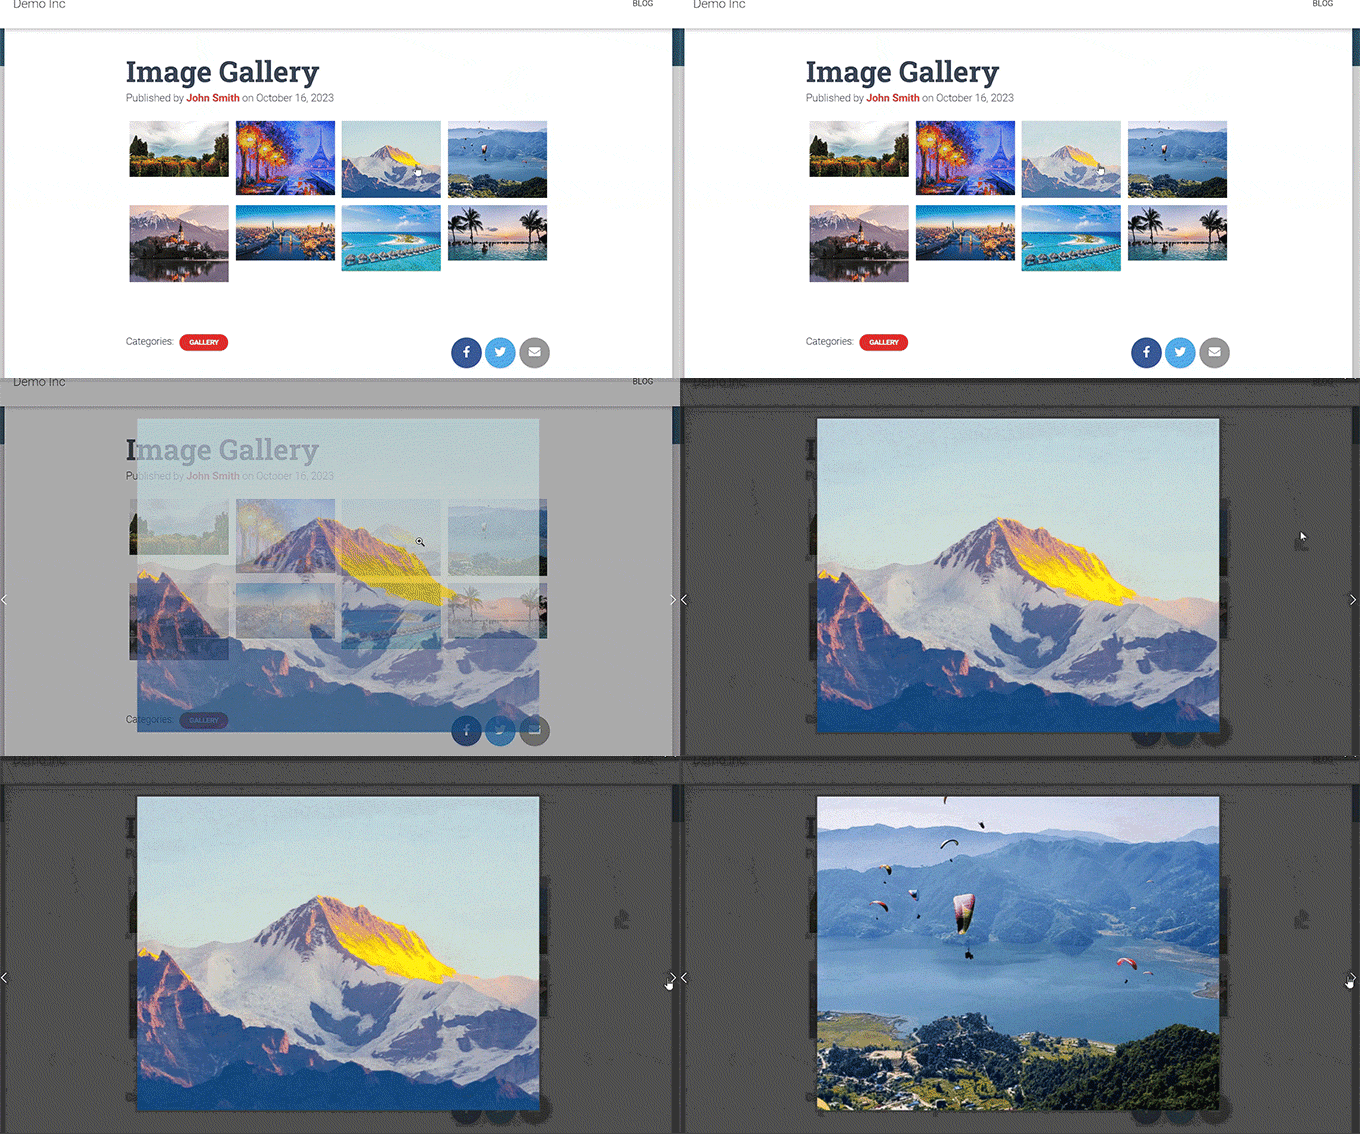
Now, you can visit your WordPress blog to view the image gallery and then click on any image to see the lightbox effect.
Alternative: Use NextGen Gallery to Create Image Portfolios and Galleries in WordPress
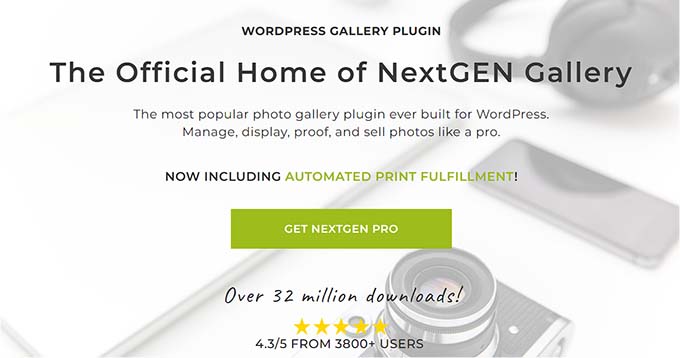
Envira Gallery is the best option for adding lightbox images to your WordPress website. Alternatively, you can use NextGEN Gallery to create fully responsive and visually pleasing galleries and portfolios on your WordPress site.
NextGEN Gallery is the best Envira Gallery alternative because it supports a wide range of gallery types, has eCommerce-related features, and allows you to add watermarks, lightboxes, image comments, and more.
Additionally, NextGEN Gallery allows you to accept online payments via Stripe or PayPal, making it easy to sell your images online.
It is an advanced gallery plugin with features for professional photographers, graphic designers, and visual artists, making it one of the best WordPress portfolio plugins on the market.
For detailed instructions, you may want to see our tutorial on how to add a portfolio to your WordPress site.
We hope this article helped you learn how to easily add a WordPress gallery with a lightbox effect. You may also want to see our beginner’s guide on how to do basic image editing in WordPress and our expert picks for the best tools to create better images for your blog posts.
If you liked this article, then please subscribe to our YouTube Channel for WordPress video tutorials. You can also find us on Twitter and Facebook.


